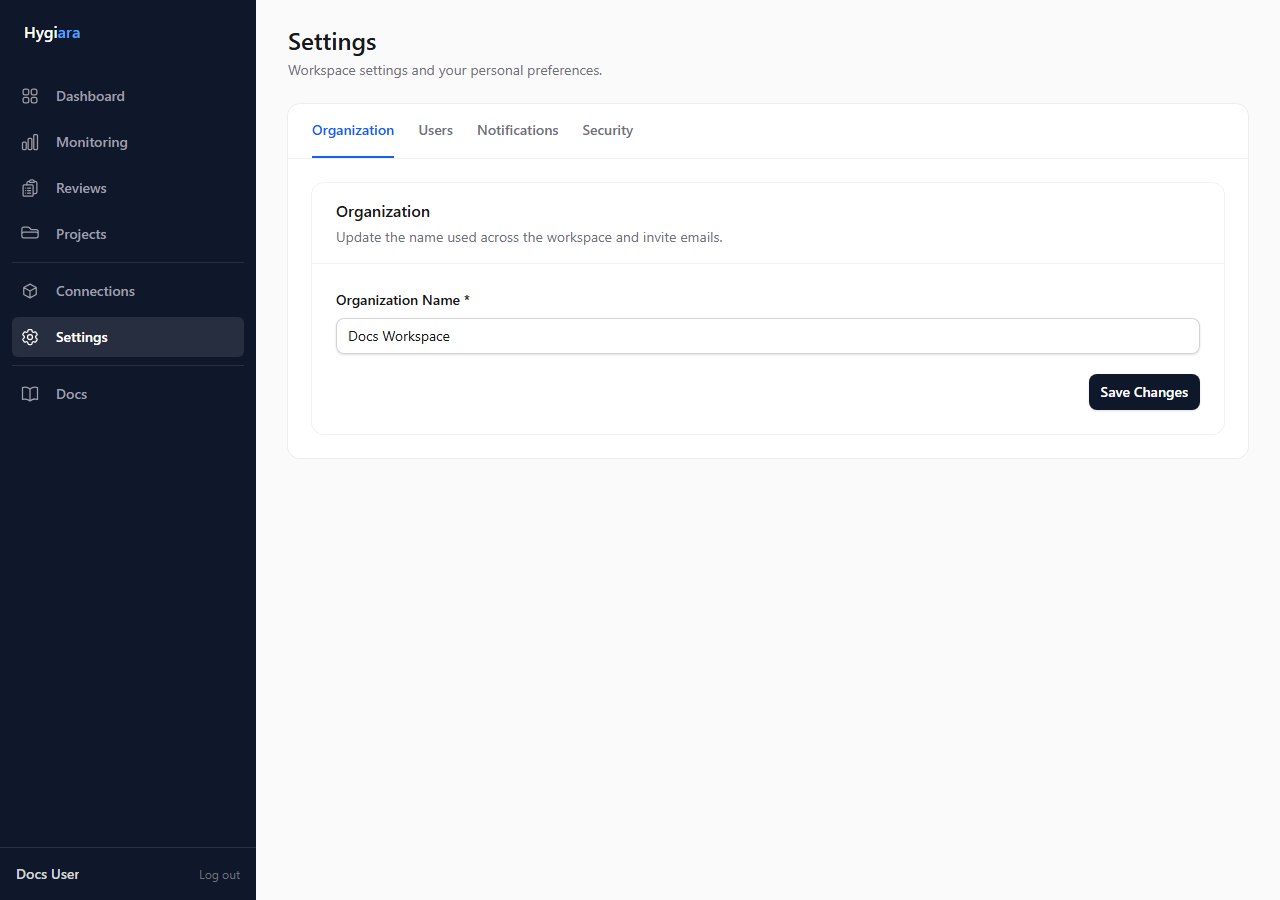
Documentation / Settings And Users

Settings And Users

Users And Invitations

How to invite users, manage roles, and avoid common access-management mistakes.

What this page is for

This page explains how access management works in the workspace and how to use the access table and invitation flow safely.

When to use it

Use it when:

  • you need to give another person access
  • you are reviewing who should be an admin versus a member
  • you need to resend, revoke, or troubleshoot an invitation

How to use it

Roles

The current role model is:

  • admin
  • member

Admins manage access and organization-level controls. Members use the product but do not manage the workspace itself.

Sending an invitation

Use the Invite User button from the access table header. That opens the invite modal where you choose the email address and role.

After sending:

  • the app emails the invitation automatically
  • the app also shows a copyable acceptance link

Managing pending invitations

Pending invites appear in the same access table as active users, with a Pending invite status.

From the actions menu, an invitation can be:

  • resent
  • copied manually
  • revoked

Managing existing users

Existing users also appear in the access table. Use the actions menu to change roles or remove access, subject to the safeguards that stop the workspace from ending up without an admin.

What to expect

The invitation is tied to the invited email address. That keeps membership explicit and avoids loose join flows.

Common mistakes

  • making people admins by default
  • forgetting that pending invitations are still active access paths until revoked or expired
  • expecting the system to allow admin changes that would leave the organization without an admin

Next step